>_ Sideband Quick-start
Installing Sideband on Android and getting it connected to the network. Windows and Linux builds exist too, but this guide focuses on Android.
Getting Sideband
Sideband is a client made by Reticulum's creator, Mark Qvist — often regarded as the reference LXMF client implementation, and by far one of the most fully-featured messaging clients for RNS. It covers messaging, telemetry, voice, and file transfer over whatever mix of interfaces you have: LoRa, packet radio, I2P, TCP, and more. It's built for Android, Windows, and Linux; this guide covers the Android app.
Sideband is not published on any app stores — not Play Store, not F-Droid, nowhere. It's distributed as an APK from the project's GitHub releases, and it also propagates directly over the Reticulum network itself, so you may end up receiving it from a peer or node rather than downloading it.
Since the APK doesn't come from Play Store, Android will ask for permission to install from this source the first time — allow it for whichever app you downloaded through (browser or file manager).
Install it, open it, and move on to connecting it to the network below.
Connecting via TCP
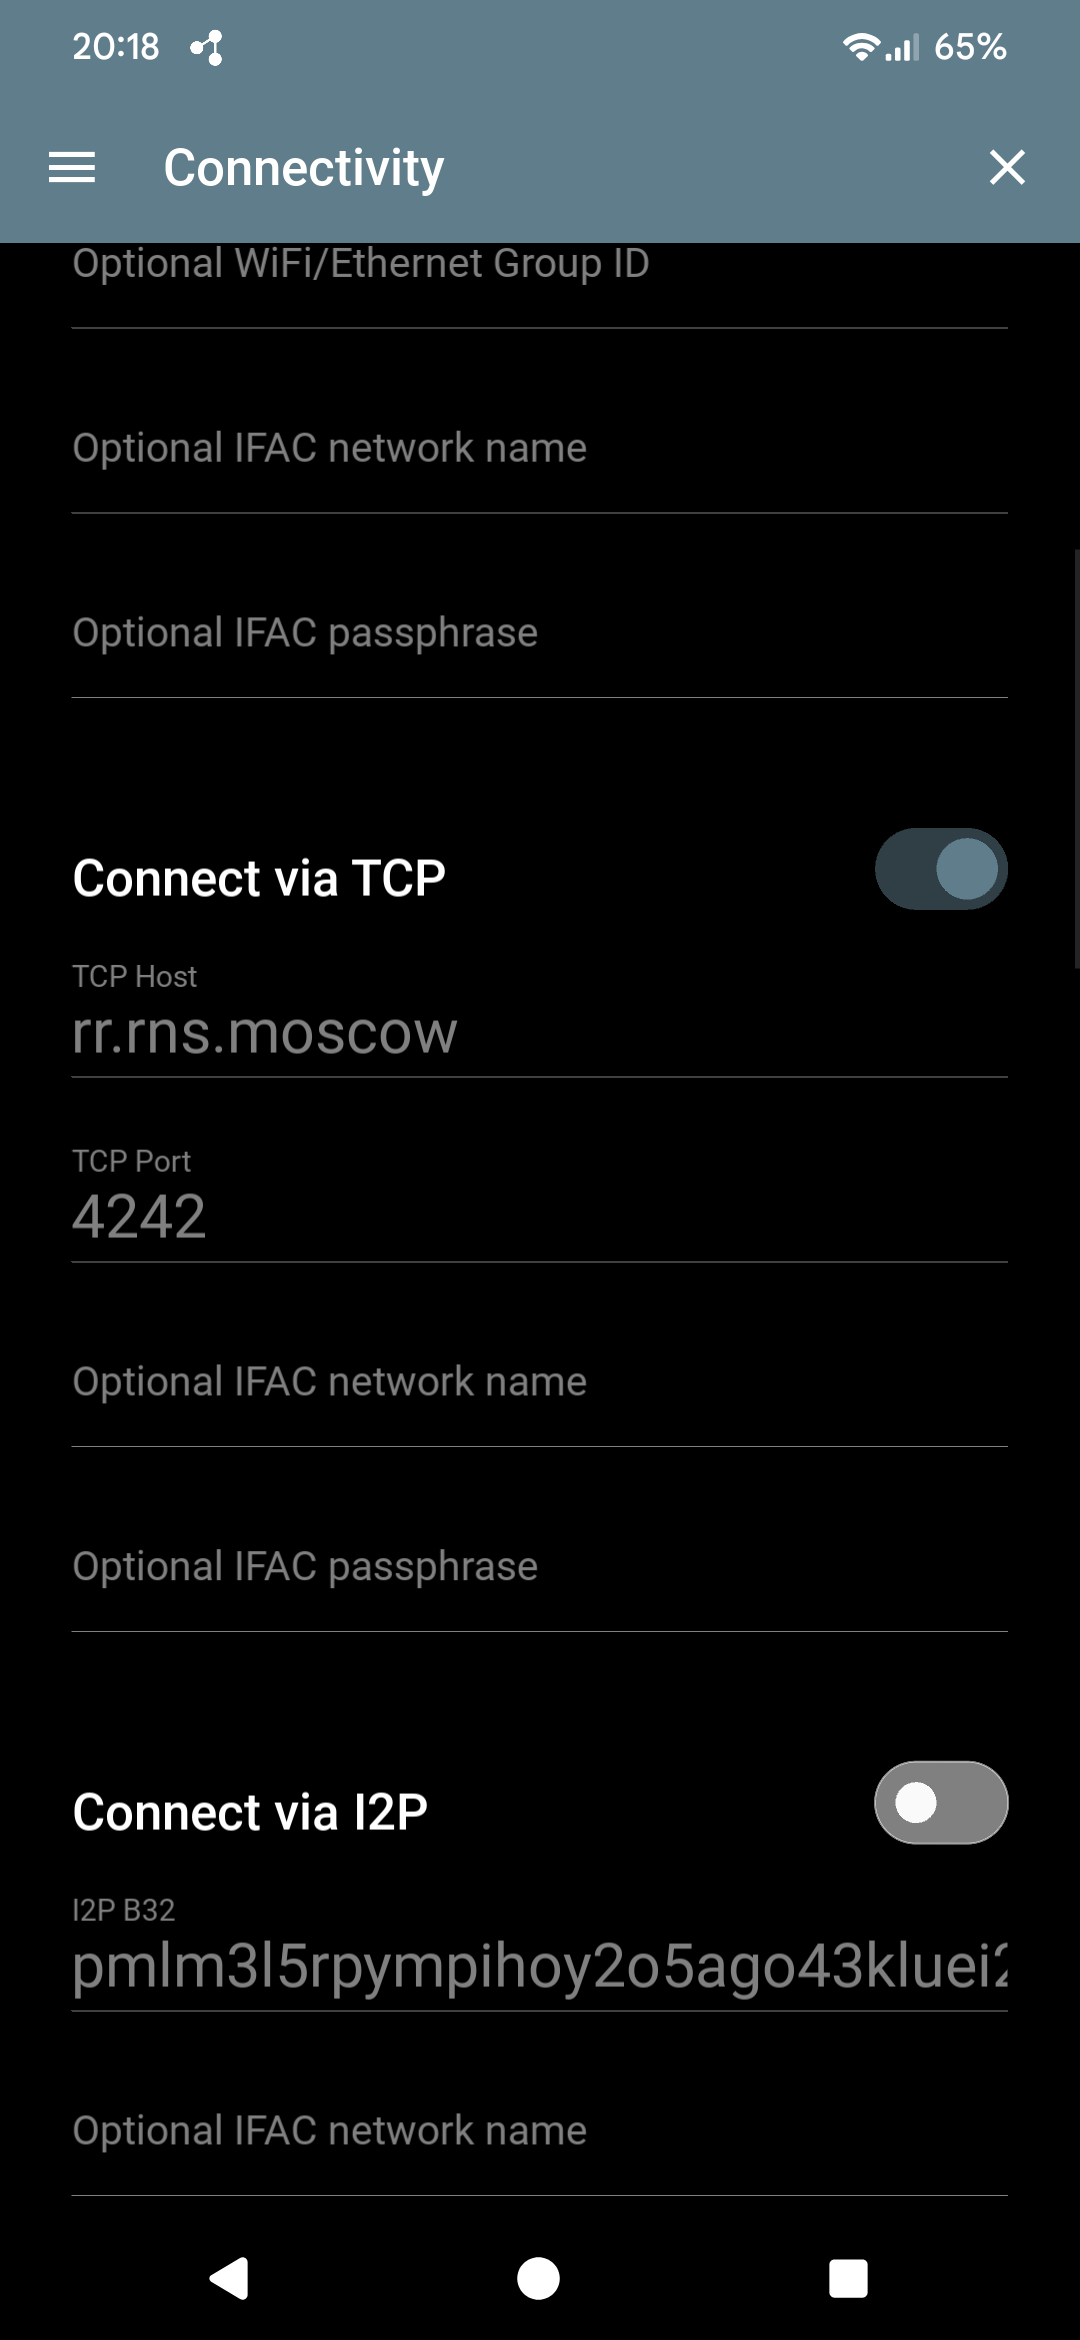
In order to access the wider Reticulum network, Sideband requires a connection to a Reticulum transport node. The most straightforward way to connect to such a node is using the TCP interface. All of this is configured under ☰ → Preferences → Connectivity, which lists every interface type Sideband supports and lets you enable any combination of them.
TCP is the fastest way onto the network from a phone with internet access. Toggle Connect via TCP on, then fill in a TCP Host and TCP Port.
Connecting via RNode
If you have a supported LoRa device, you can use it for peer-to-peer radio messaging, or connect via a public RNode access point to reach the wider Reticulum network. Toggle Connect via RNode on the same Preferences → Connectivity screen to enable the interface — the radio parameters and the actual connection method (WiFi, Bluetooth, or USB) are configured separately, in Sideband itself, covered below.
A LoRa device only becomes an RNode once it's running the RNode firmware — if yours doesn't have it yet, flash it first using the RNode Flasher.
When flashing, choose the RNode Classic variant — that's the one built to act as a radio interface for client apps like Sideband. Other variants offered by the Flasher (such as MicroReticulum or RTNode) run Reticulum standalone on the device itself, rather than exposing it as an RNode.
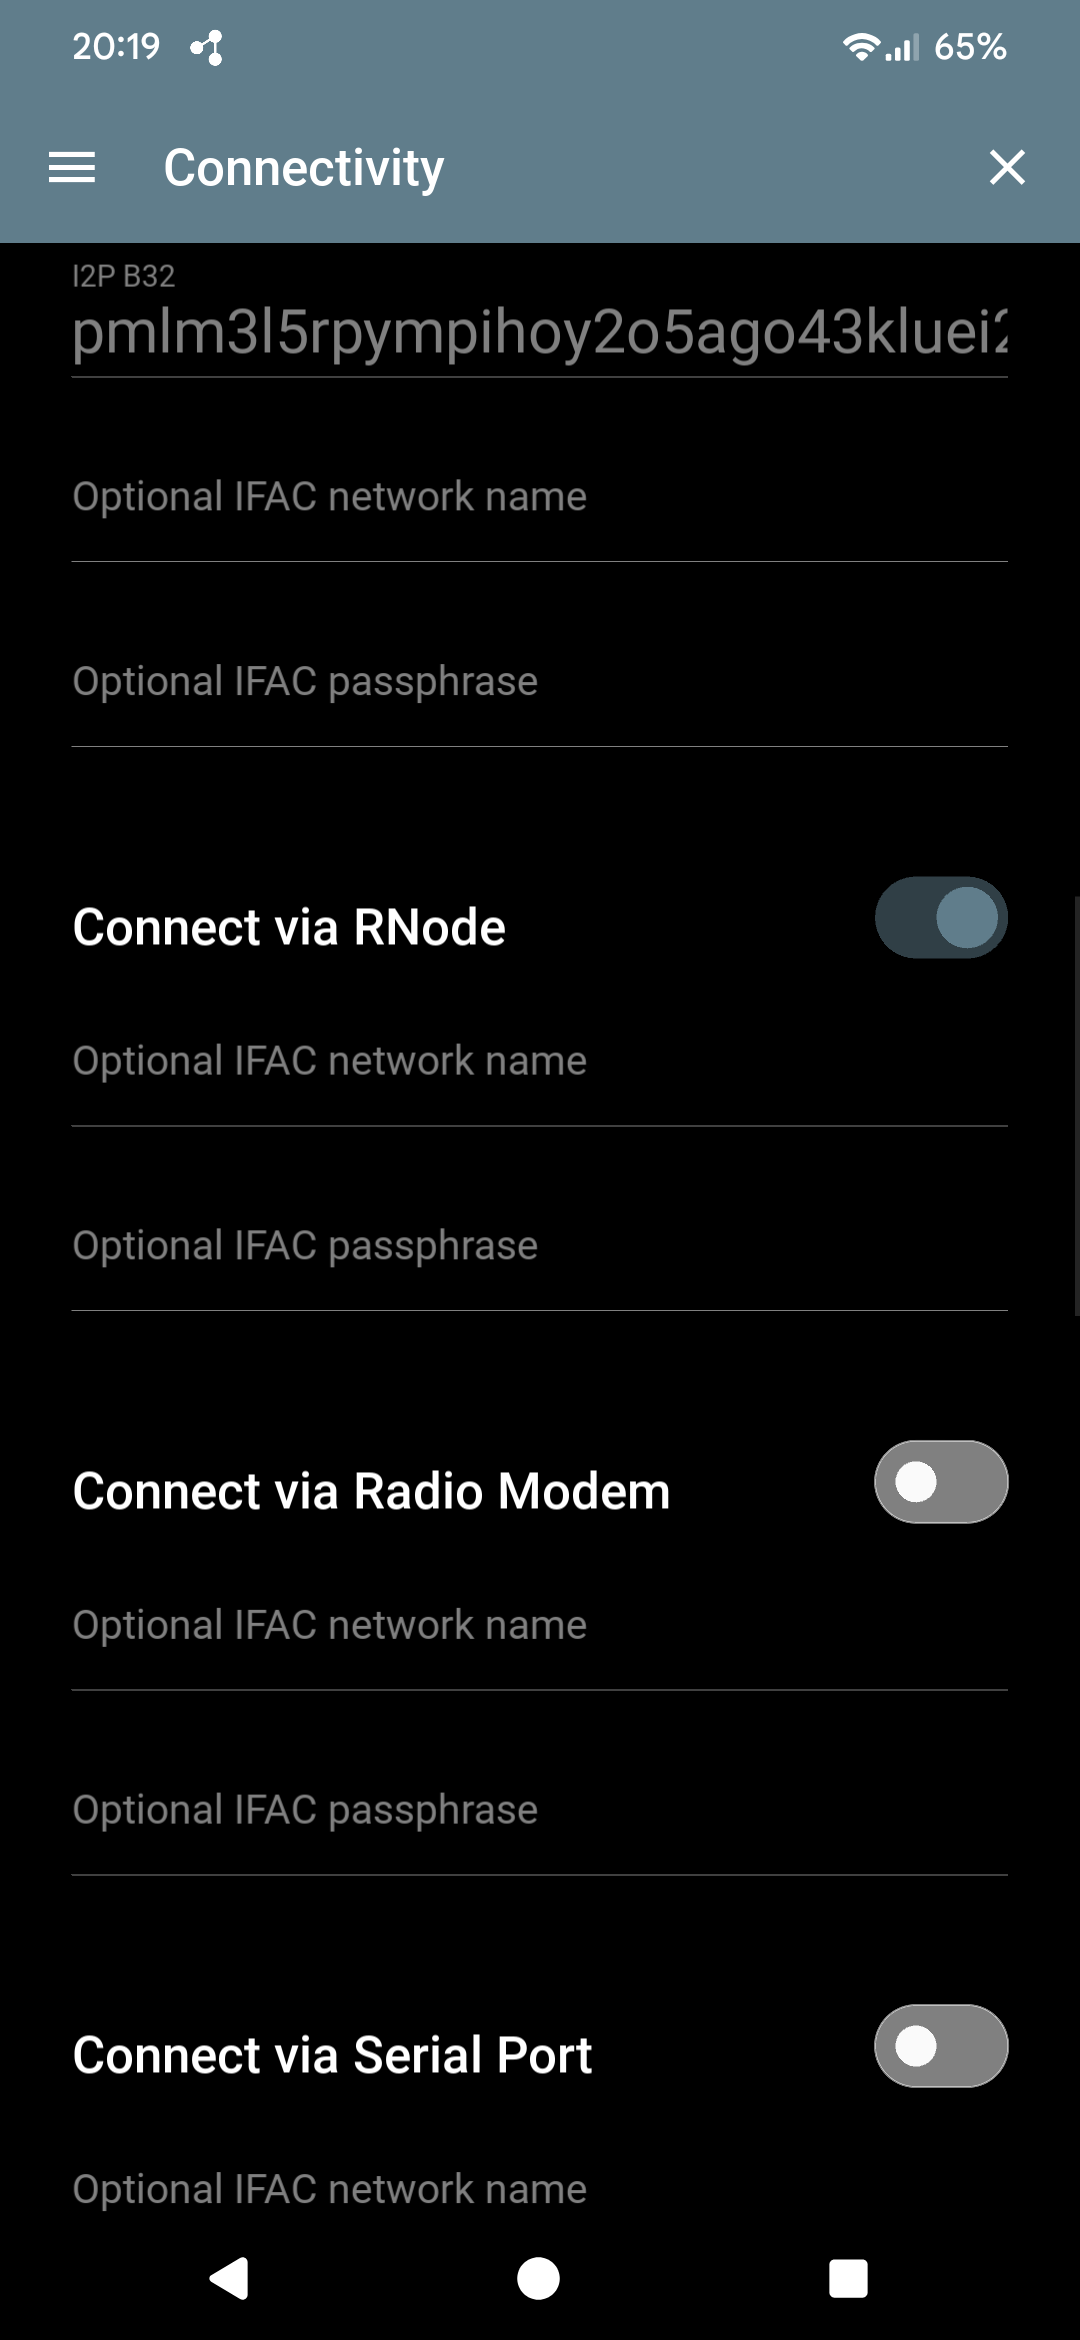
The same screen also has Radio Modem and Serial Port toggles, for connecting through a packet radio modem or a directly wired serial link — useful in specific hardware setups, but out of scope for this guide. Connect via I2P is there too, for reaching the network over an I2P router if you already run one.
Radio parameters
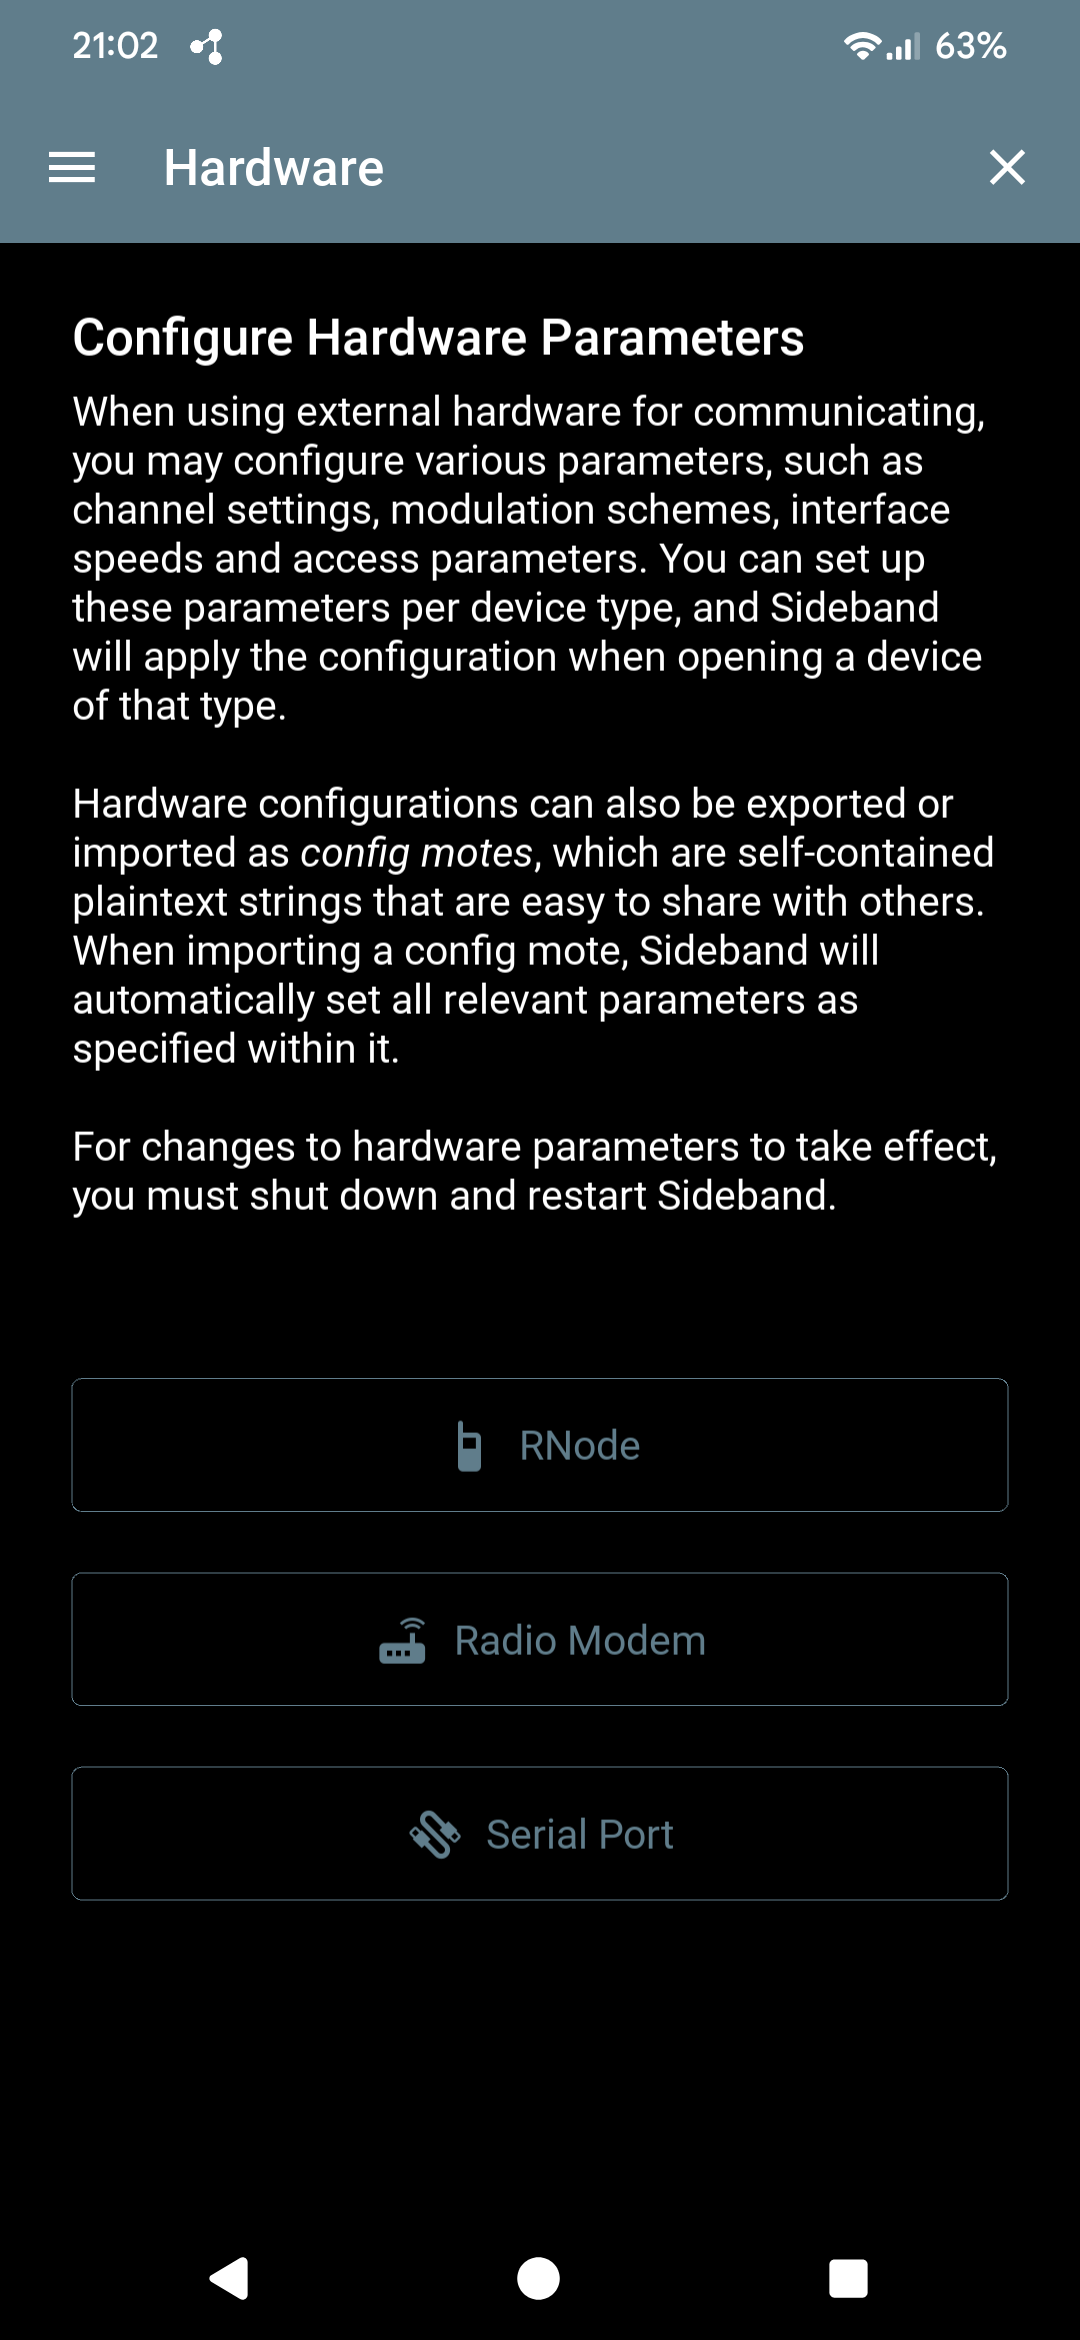
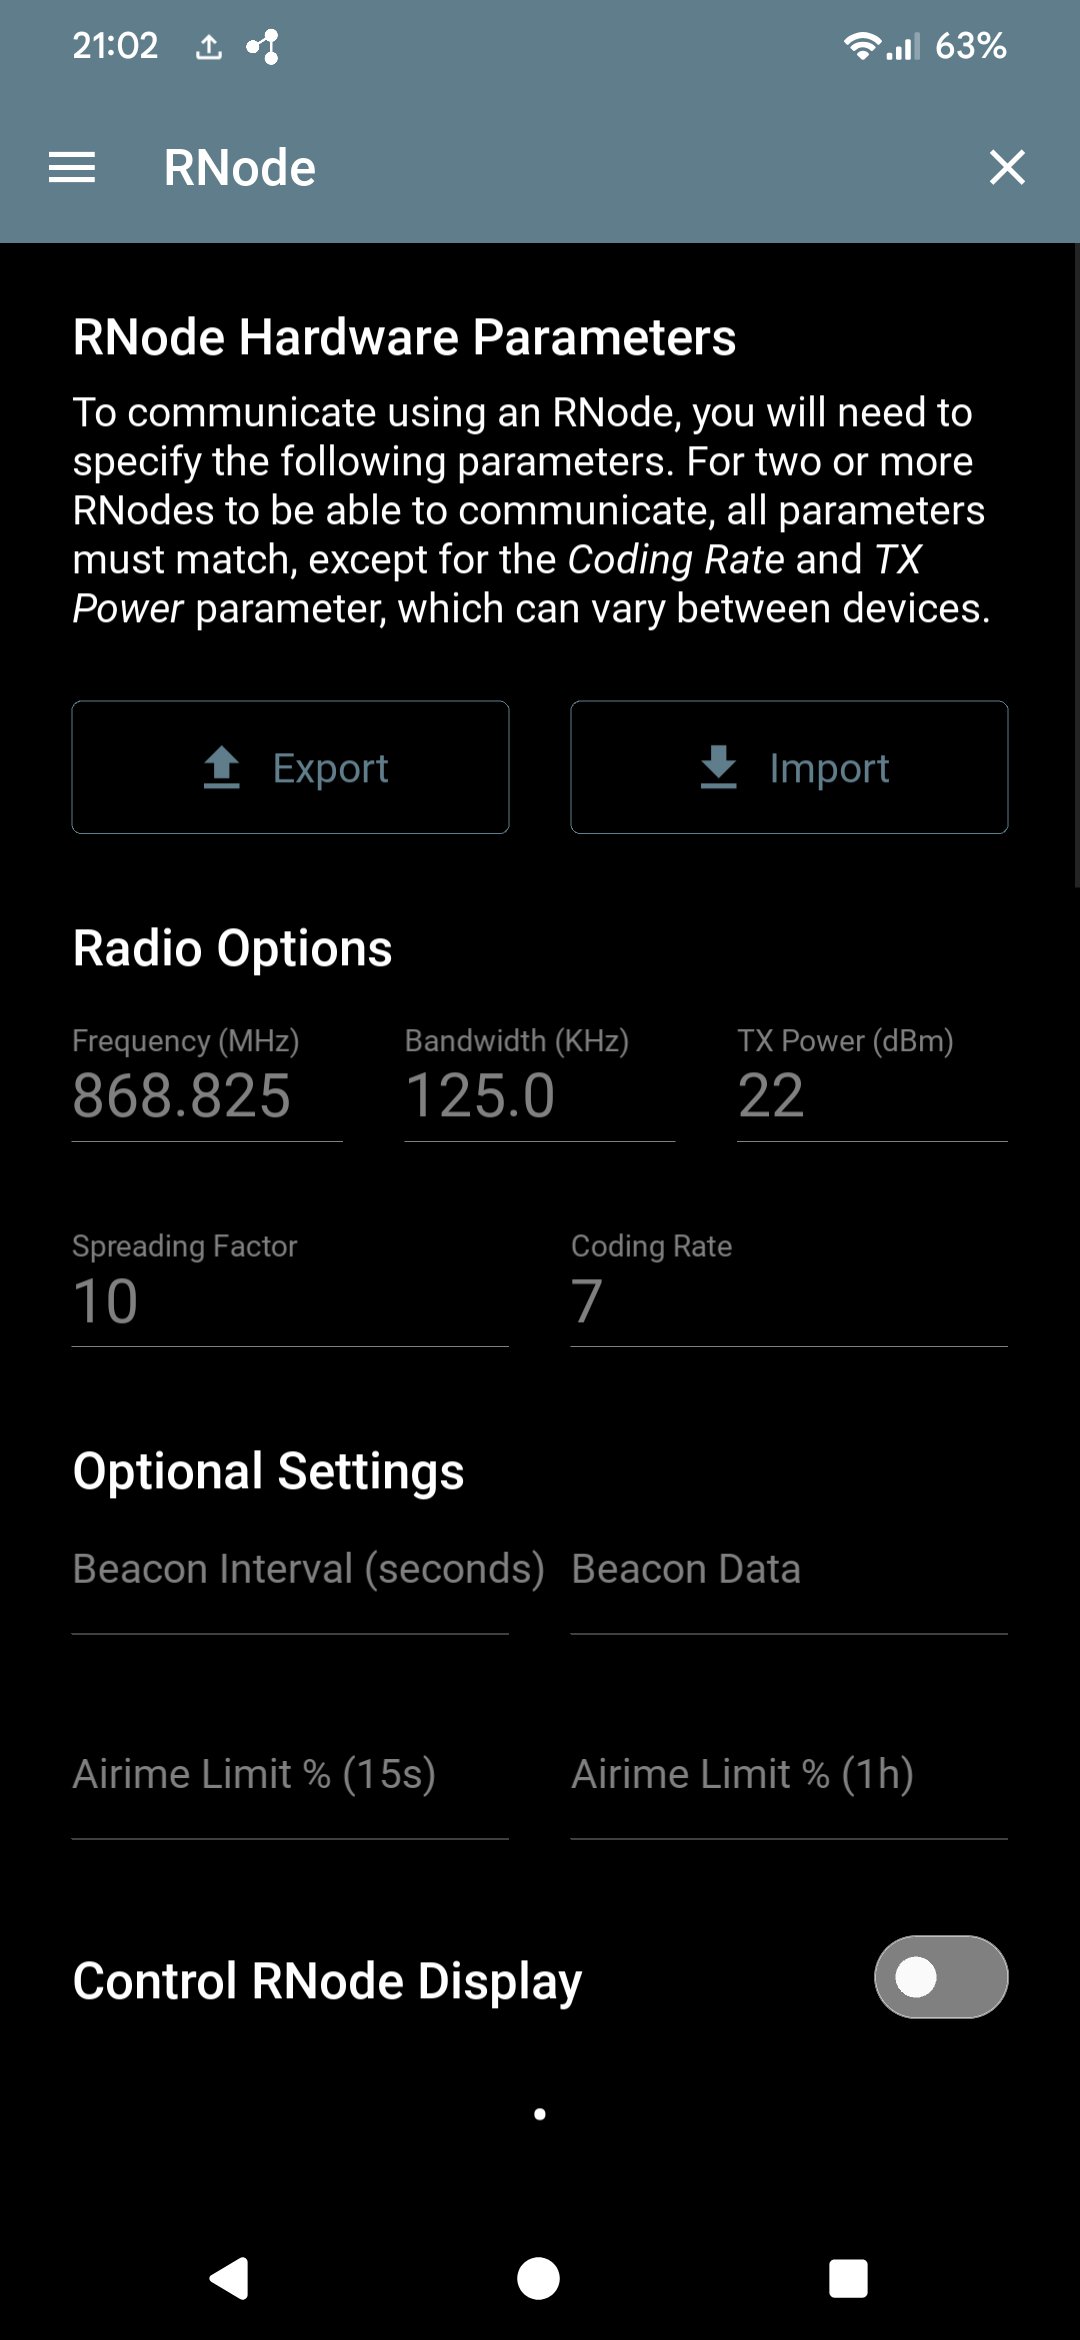
Under ☰ → Preferences → Hardware, each external device type — RNode, Radio Modem, Serial Port — keeps its own settings; tap RNode to open its radio parameters: Frequency, Bandwidth, TX Power, Spreading Factor, and Coding Rate, plus optional Beacon and airtime-limit settings.
For two RNodes to talk to each other, every one of these has to match on both ends — except Coding Rate and TX Power, which are allowed to differ. Export/Import turn a working configuration into a compact plaintext "config mote" you can share, instead of typing every field by hand on each device.
To join the RNS.MOSCOW public radio network specifically, use these values:
| MODE | Frequency | Bandwidth | SF | CR |
|---|---|---|---|---|
| LoRa | 868.825 MHz | 125 kHz | 10 | 7 |
| HaLow | 866.500 MHz | 1 MHz | — | — |
Connecting: WiFi, Bluetooth, or USB
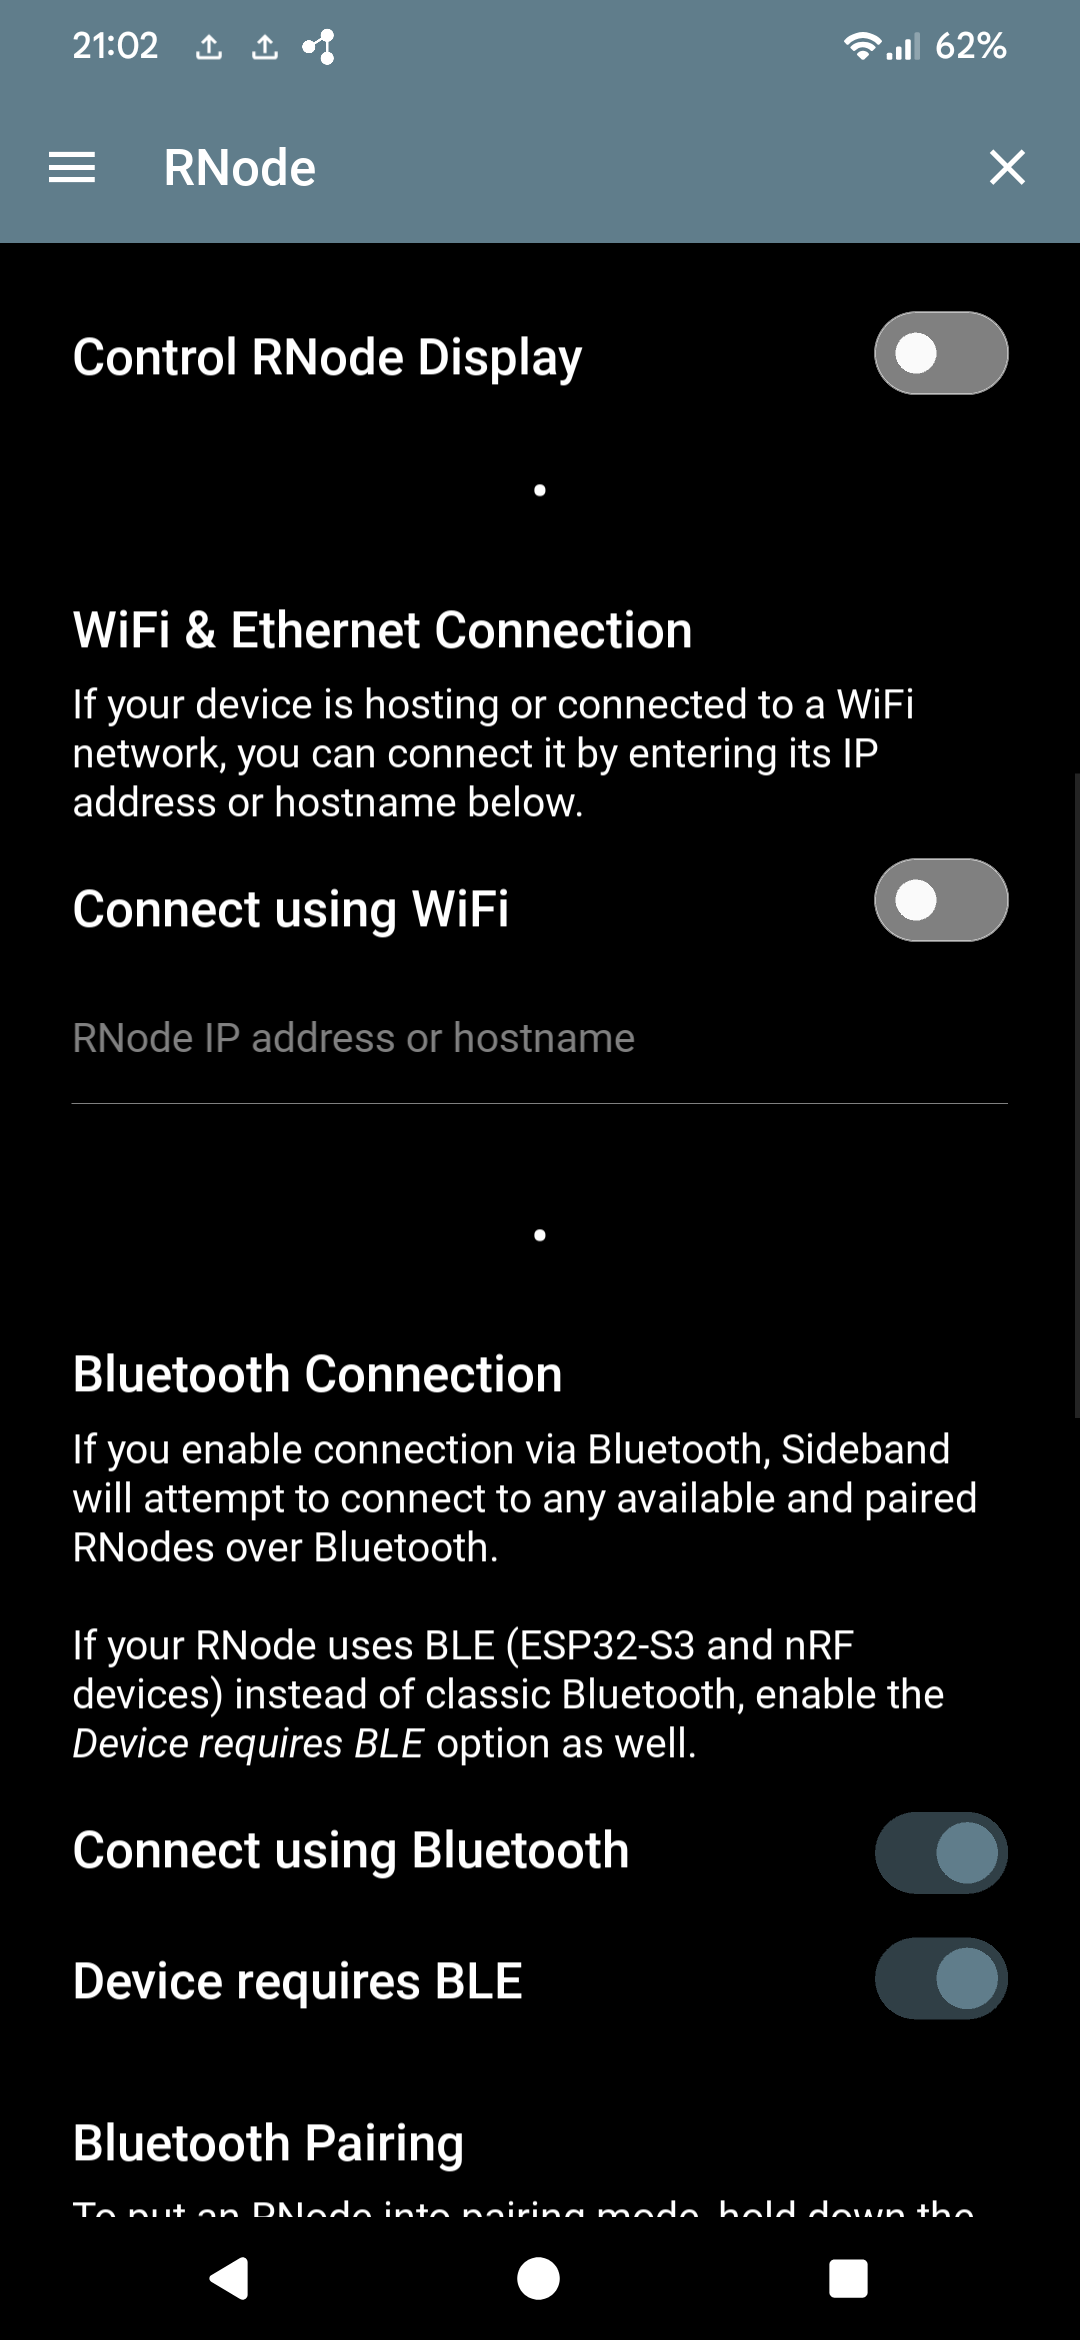
On that same RNode hardware screen, below the radio parameters: WiFi & Ethernet Connection lets you reach an RNode that's hosting or joined to a WiFi network by entering its IP address or hostname directly.
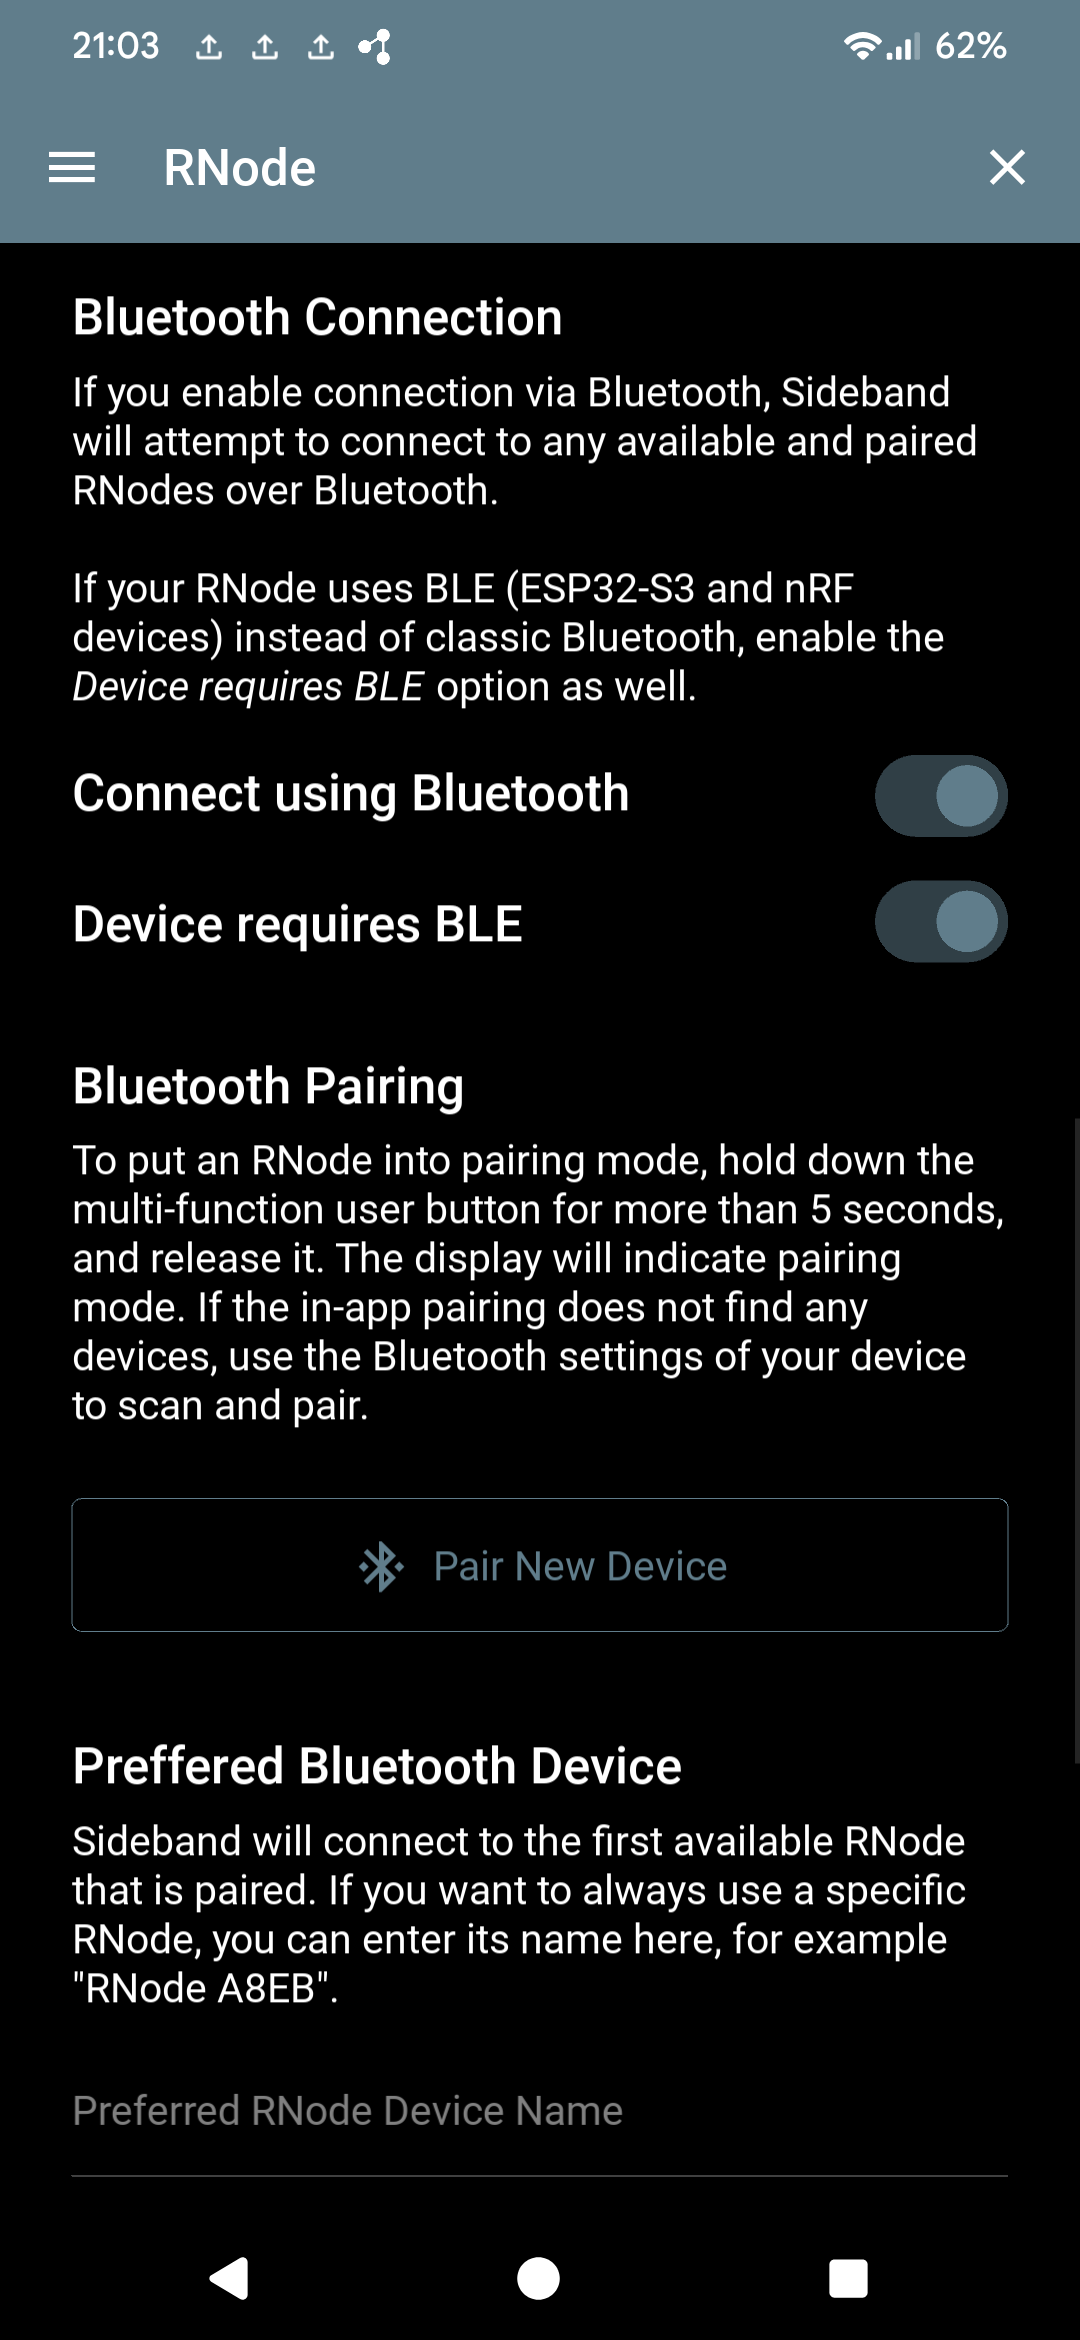
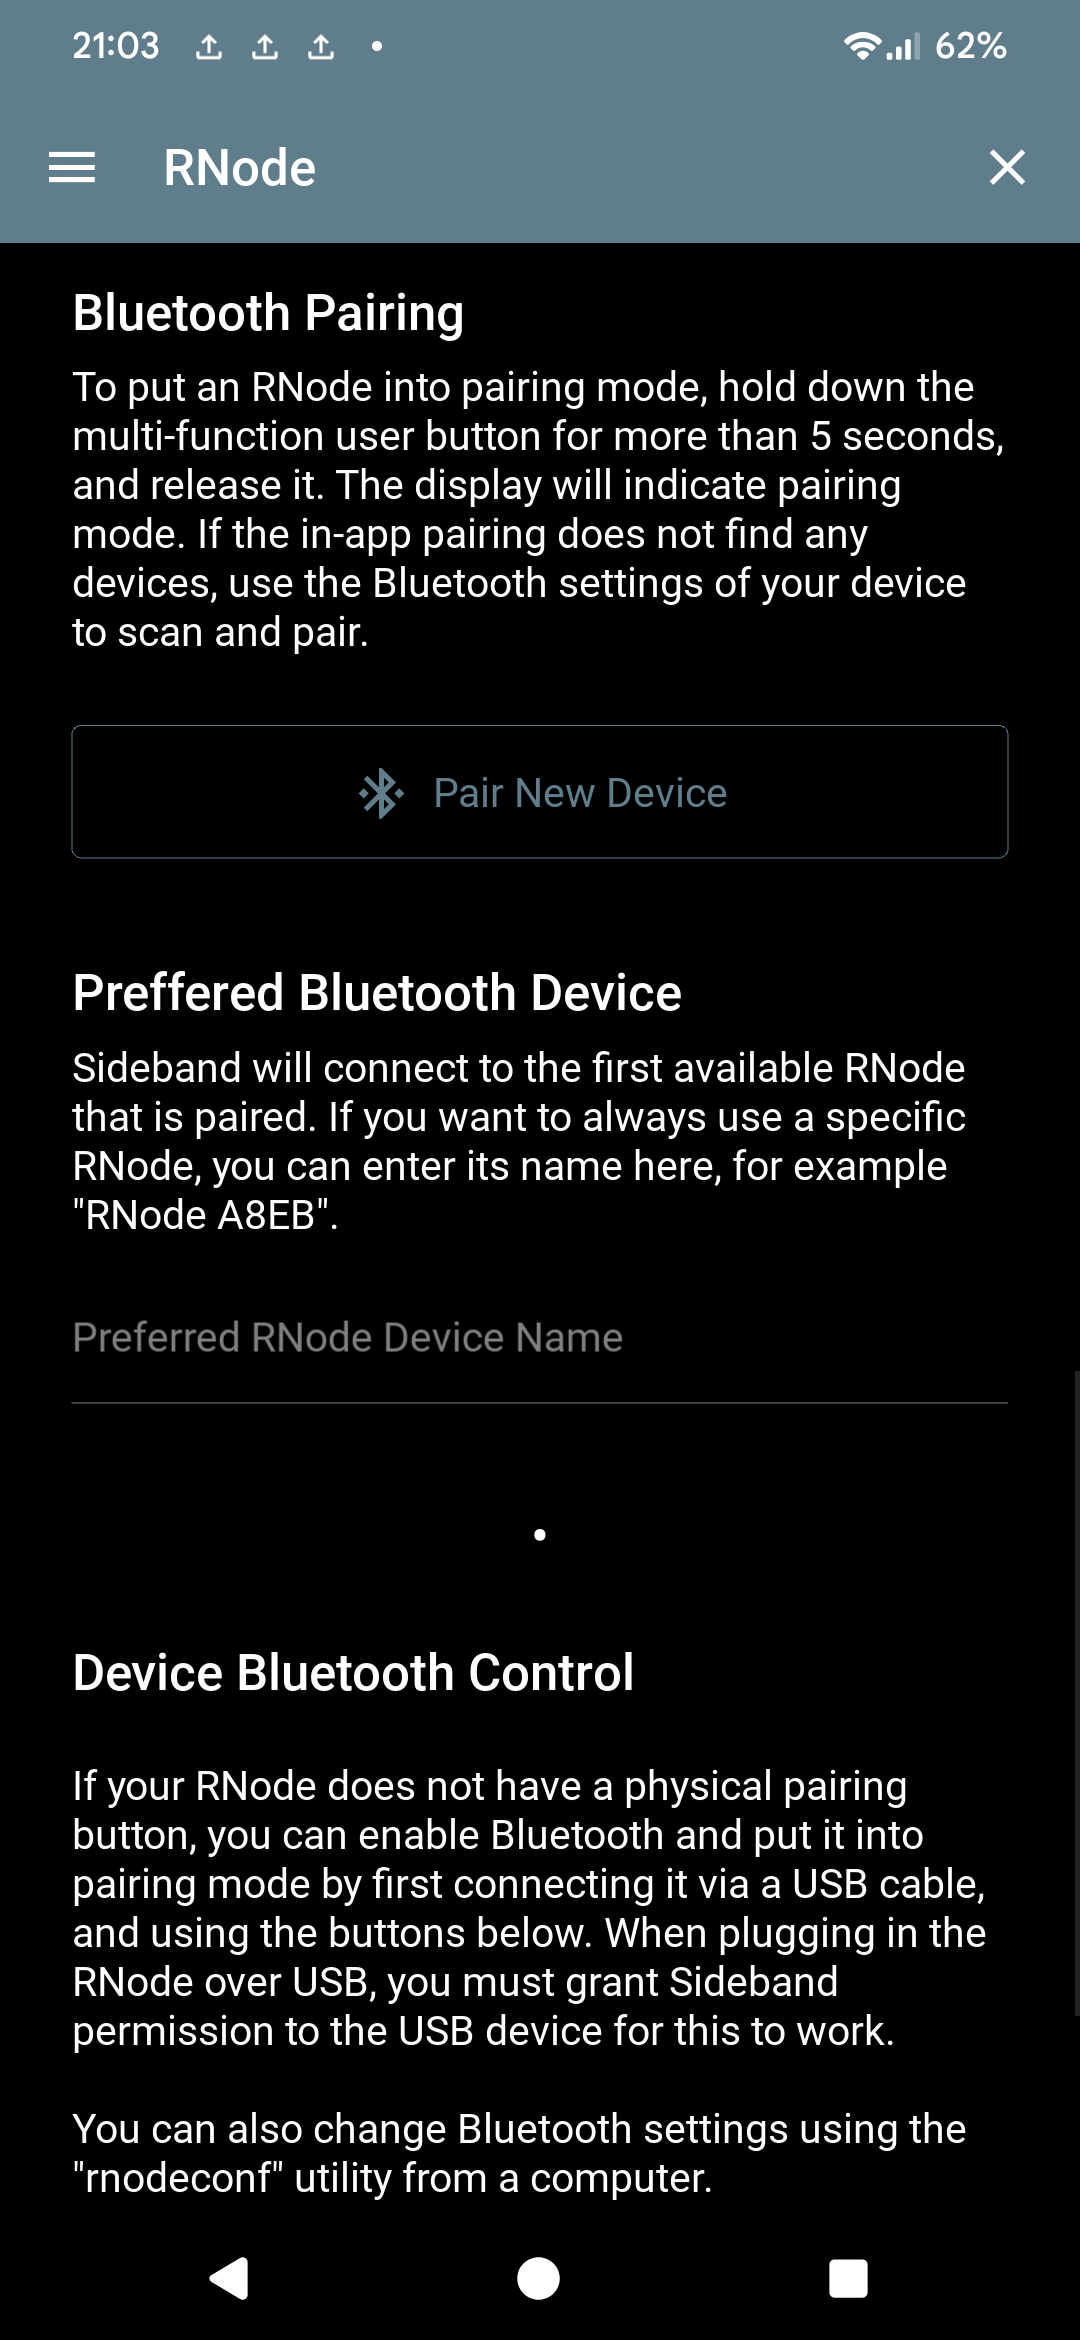
Bluetooth Connection connects to any paired, available RNode over Bluetooth. RNodes built on ESP32-S3 or nRF use BLE rather than classic Bluetooth — flip Device requires BLE on for those. To actually pair one: hold its user button for more than 5 seconds until the display shows pairing mode, then use Pair New Device — or your phone's own Bluetooth settings, if in-app pairing doesn't find it.
If you own more than one RNode, Preferred Bluetooth Device pins Sideband to a specific one by name; otherwise it connects to whichever paired RNode is available first. For USB, just plug in and grant Sideband permission to the device when Android prompts for it.
Transport & instance sharing
Two more settings on the same Connectivity screen, relevant no matter which interface(s) you've enabled above.
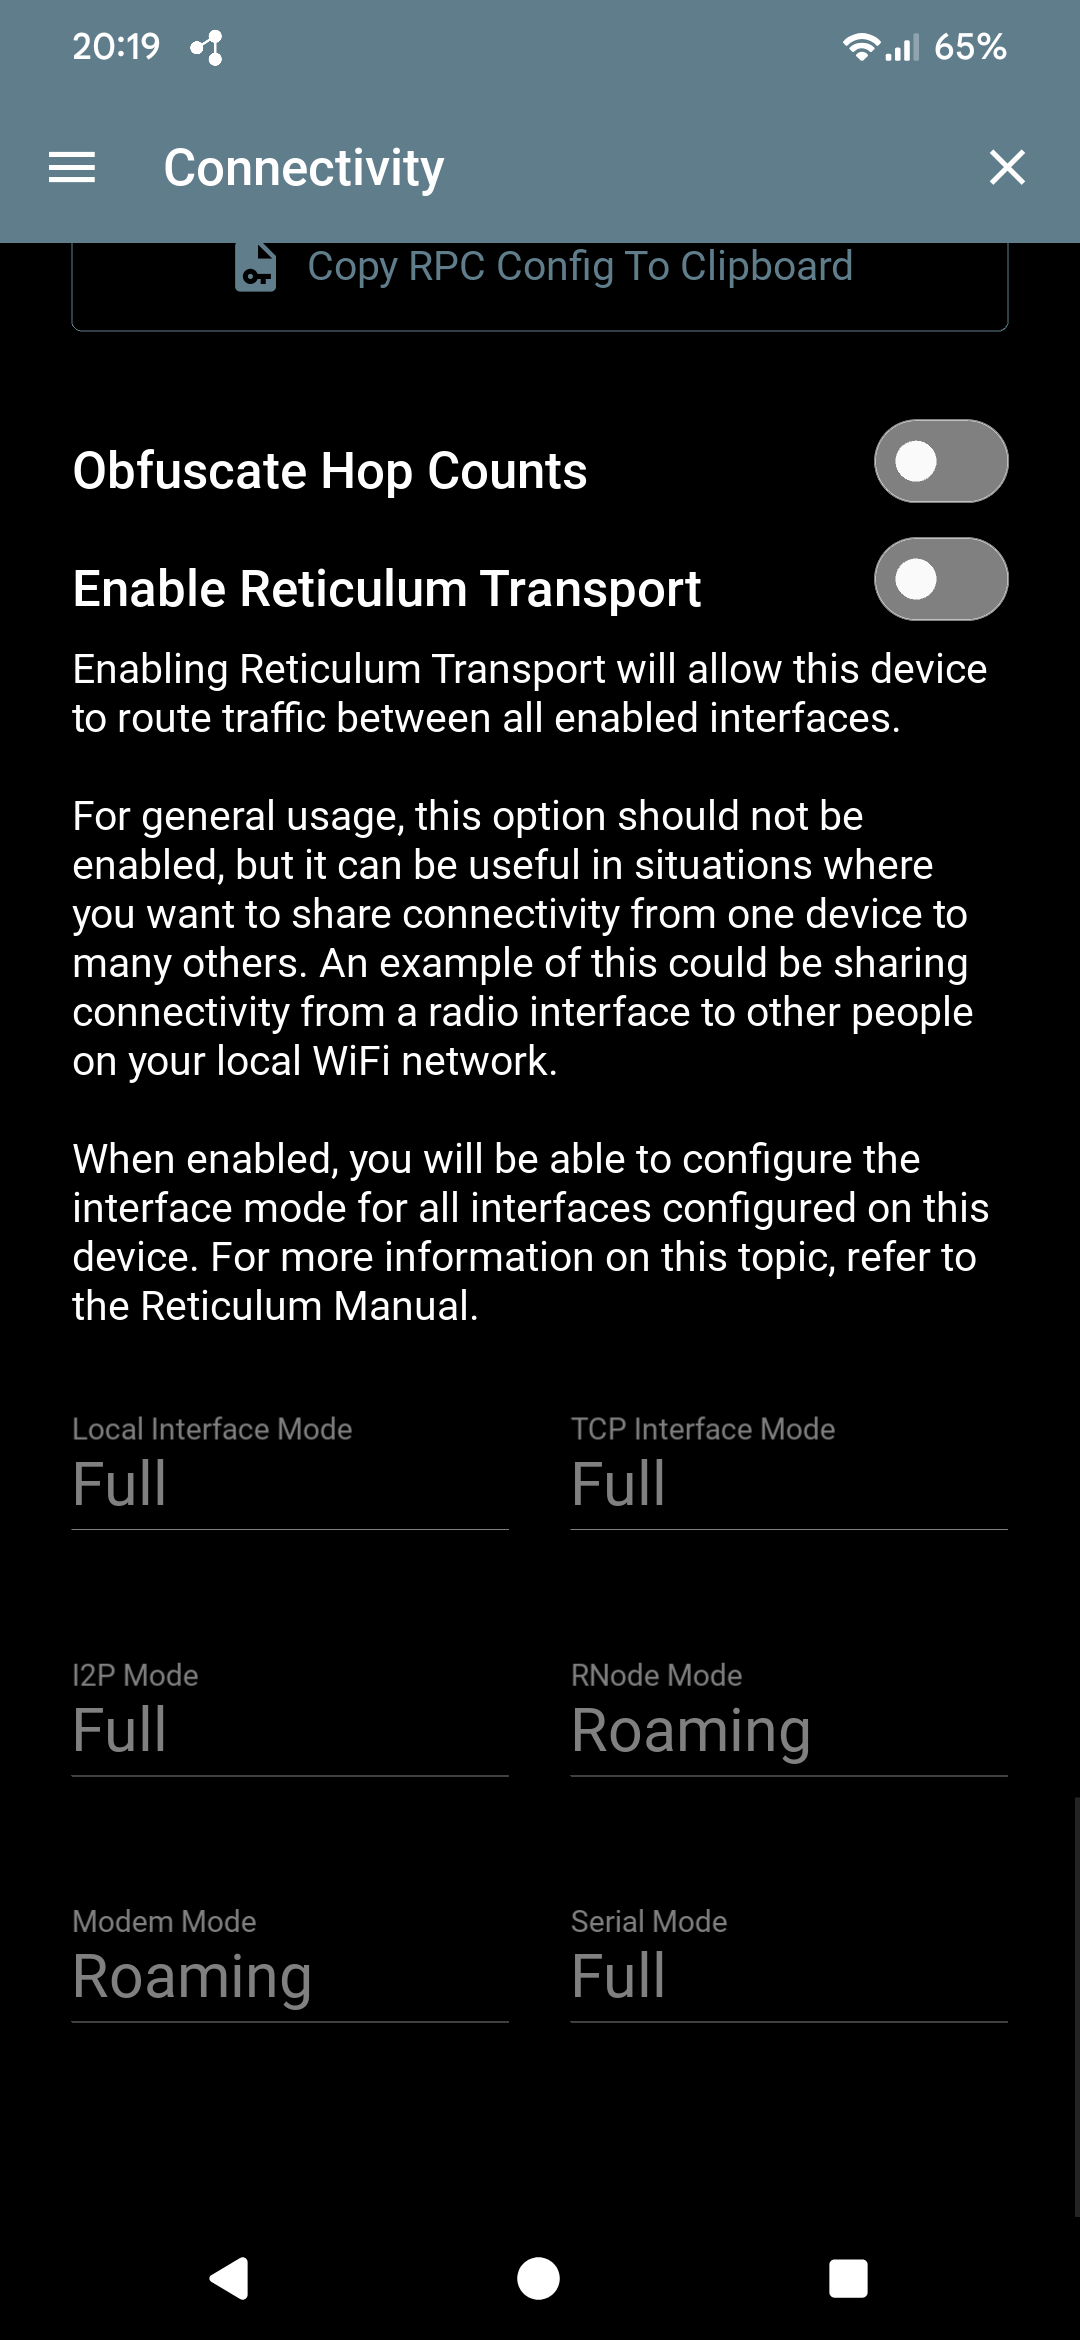
Reticulum Transport
Enabling Reticulum Transport turns your phone into a router, relaying traffic between all of its enabled interfaces — for example, sharing a TCP connection out over I2P, or an RNode's radio link out over local WiFi to other devices. Leave it off unless you specifically want your device doing that; it's not needed for normal messaging.
Turning it on exposes a per-interface mode: leave interfaces that stay in one place in the default Full mode; switch an interface to Roaming if it's physically mobile from other nodes' perspective — for example, an RNode carried around or mounted in a moving vehicle. Paths built through a roaming interface also expire faster, since the network can't assume it'll stay reachable in the same spot.
Sharing your Reticulum instance
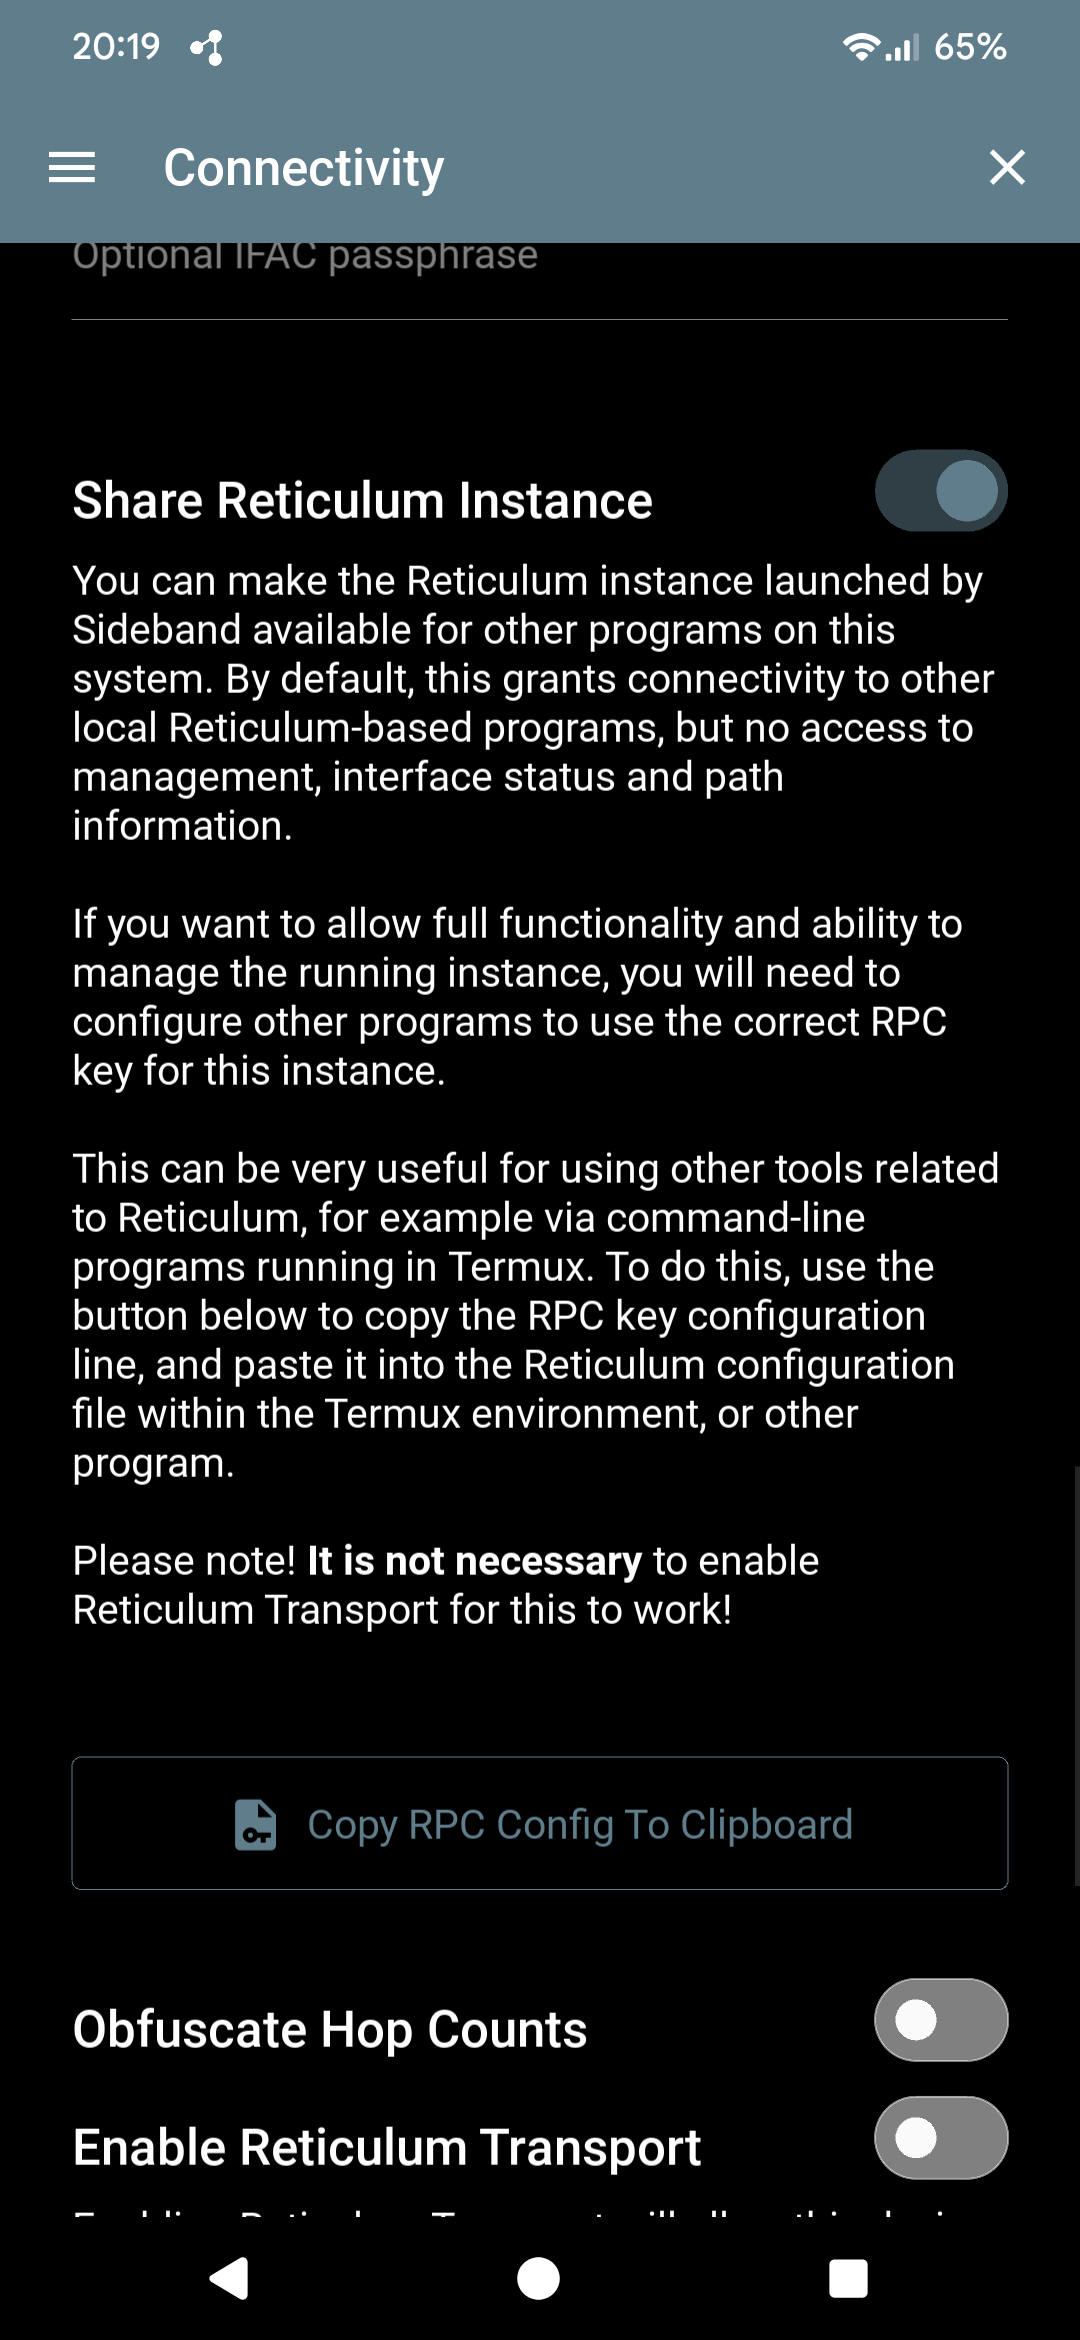
Further down the same screen, Share Reticulum Instance makes the Reticulum instance Sideband launched available to other local programs on the device — by default just connectivity, not management access. This is handy for running other Reticulum-based tools alongside Sideband, for example command-line utilities in Termux: use Copy RPC Config To Clipboard to get the config line for full access, and paste it into that program's Reticulum config. You do not need Transport enabled for this to work.
Address & identity
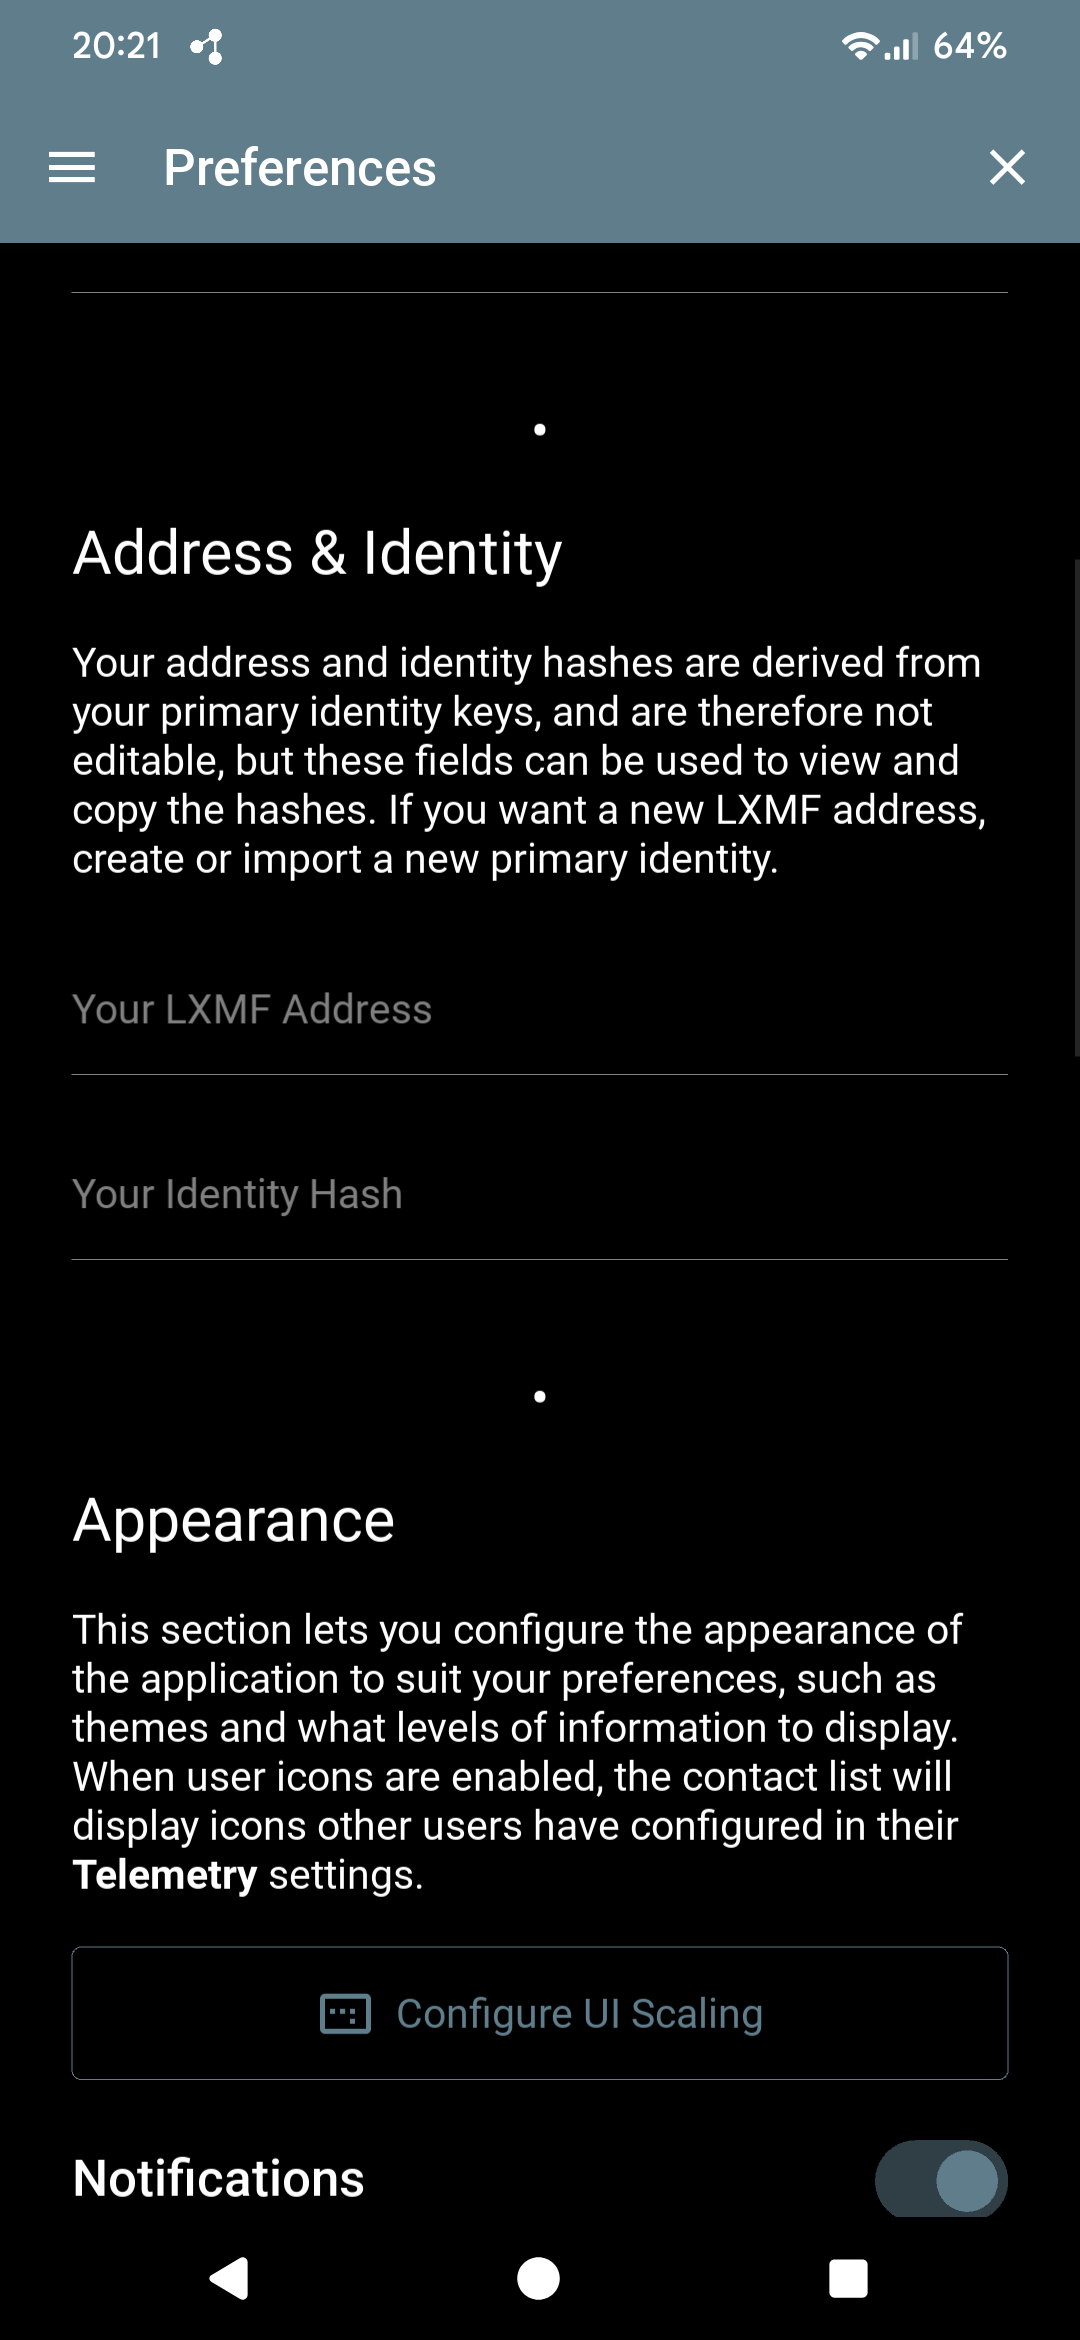
Under ☰ → Preferences, the Address & Identity section shows your LXMF address and identity hash — both derived from your primary identity keys, so they're read-only here. Tap a field to view or copy it. The only way to get a different address is to create or import a different primary identity.
User options
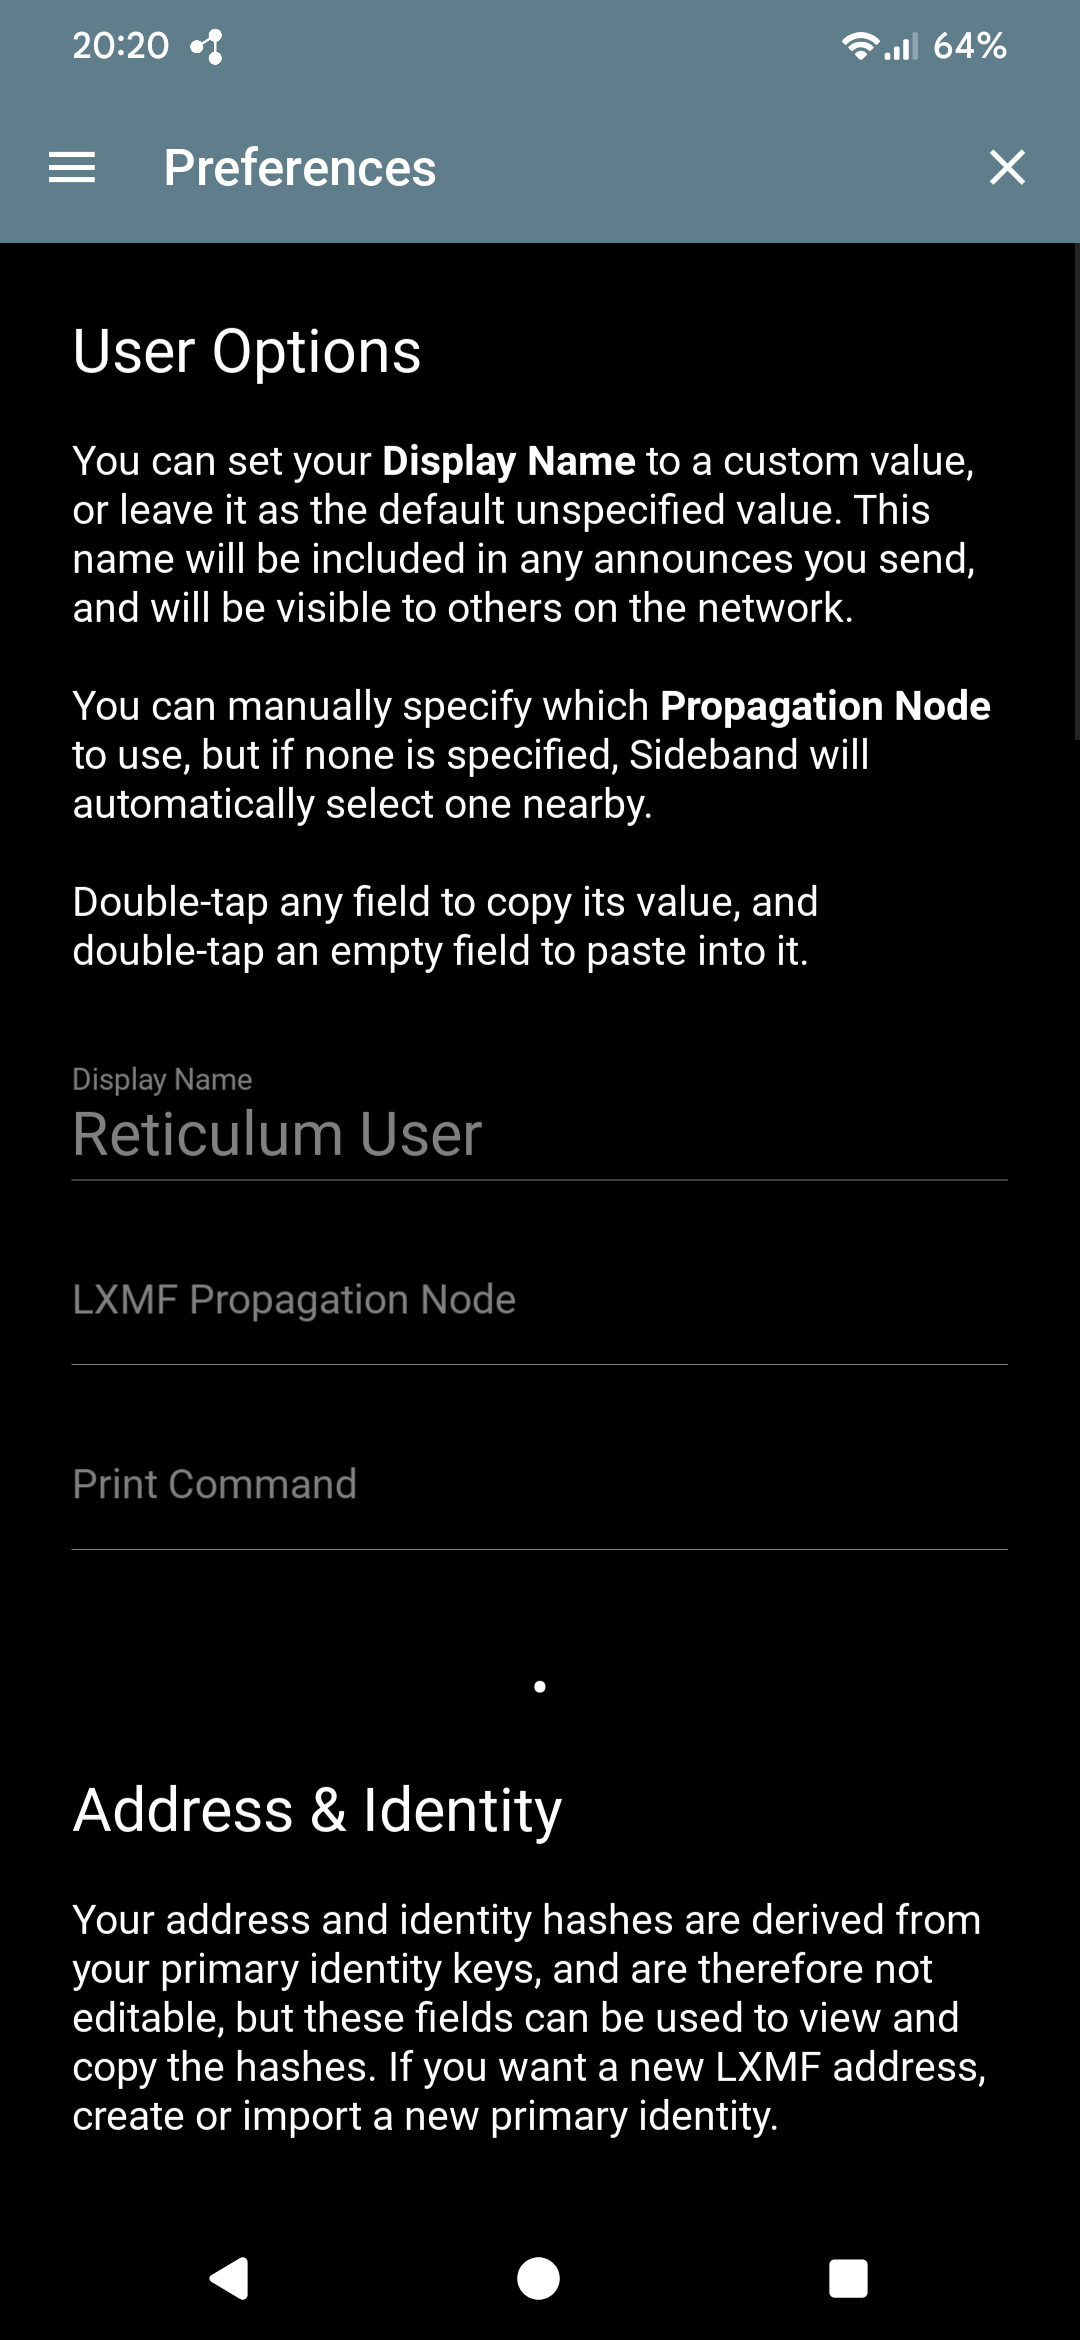
Also under Preferences, just above Address & Identity.
Preferences worth knowing
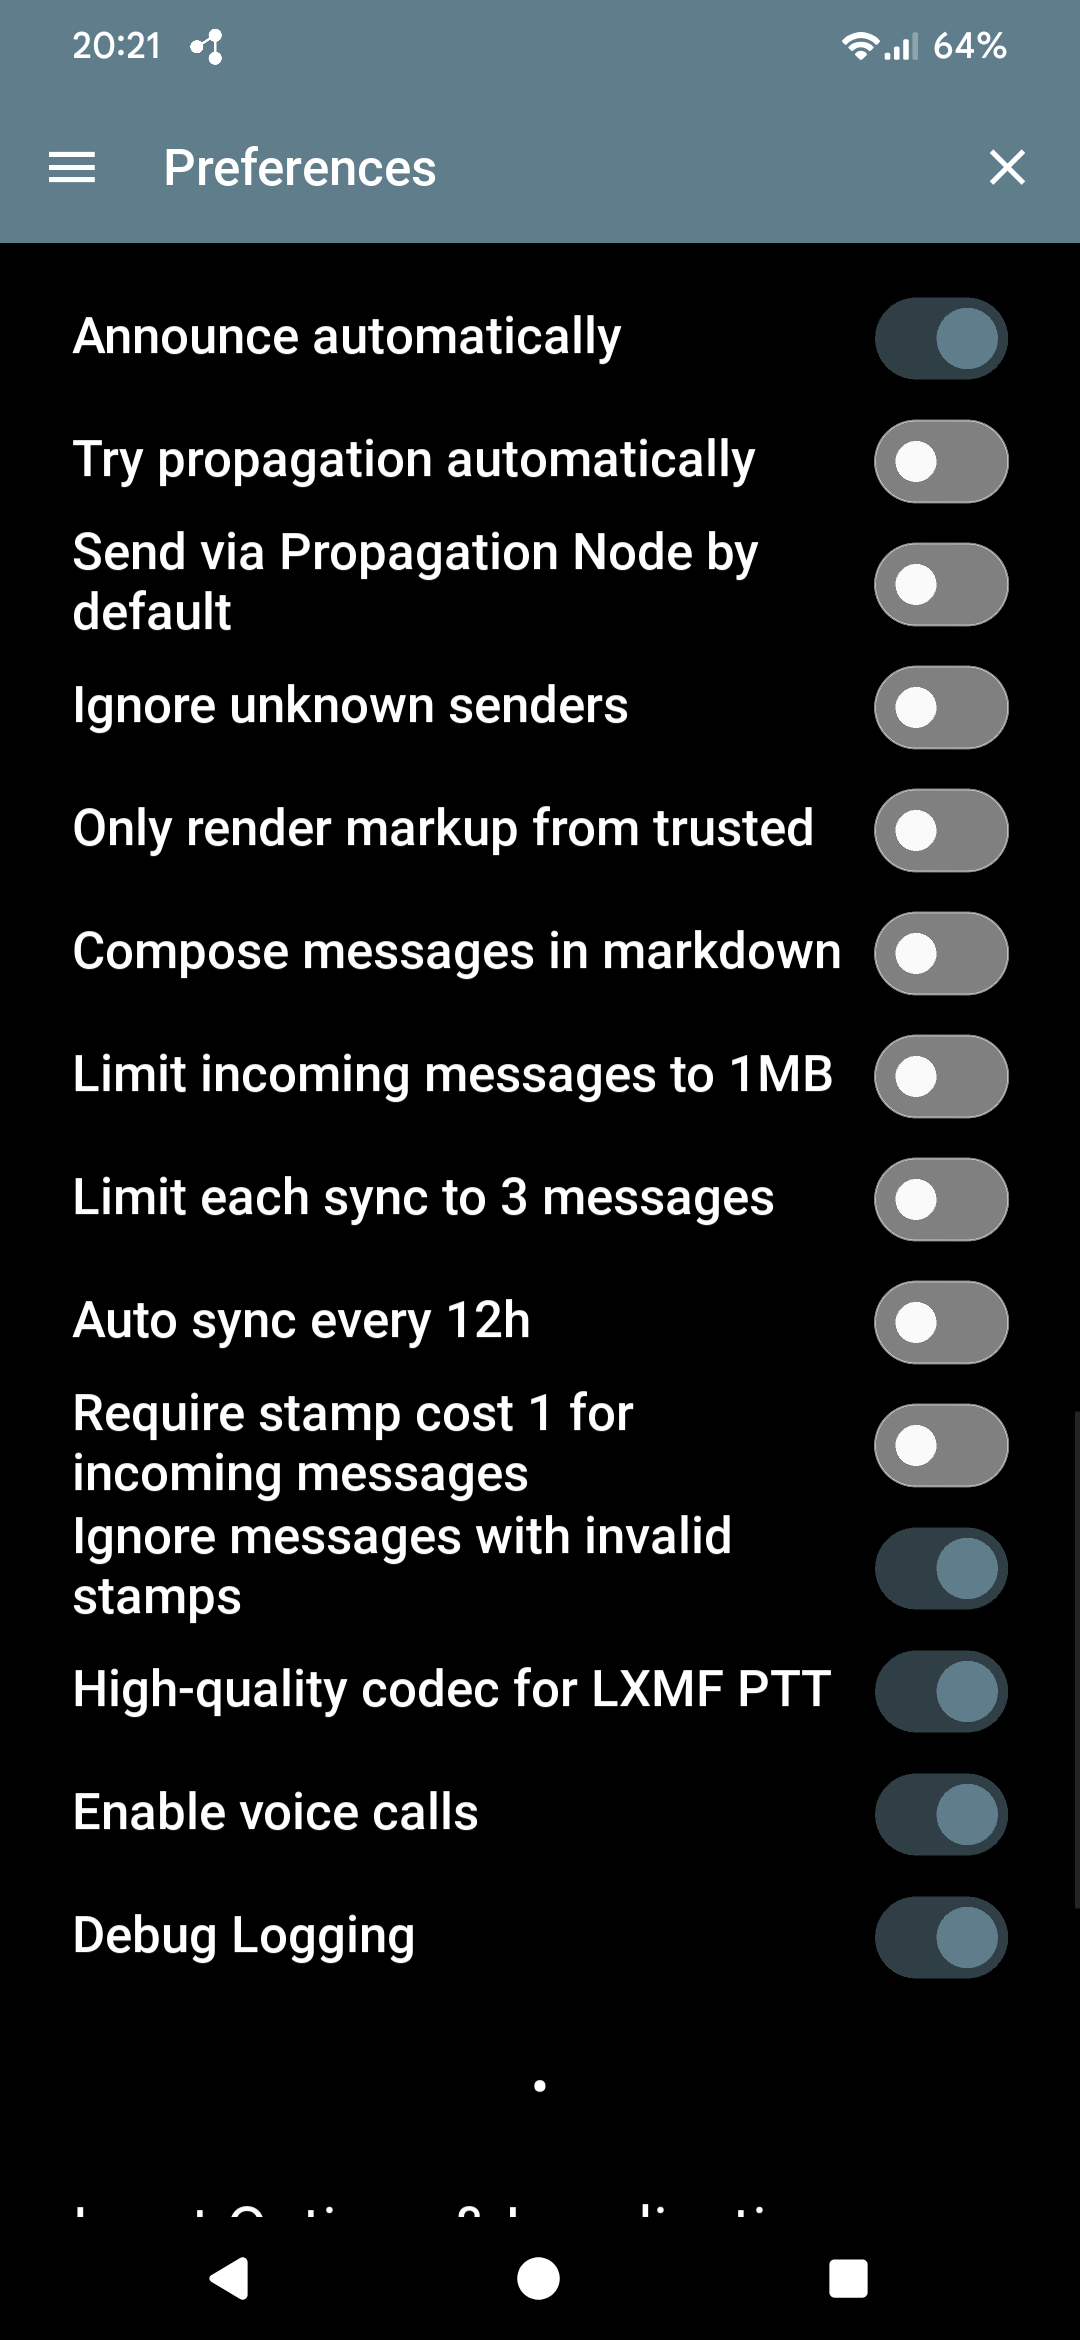
The Preferences screen has a long list of behavior toggles further down. Defaults are sane for most people, but a few are worth knowing about early: